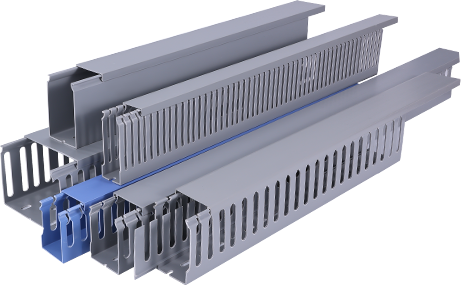
In the realm of electronics and DIY projects, understanding how to create reliable electrical wire connectors is essential. Whether you’re a hobbyist, a DIY enthusiast, or a professional, knowing how to make DIY electrical wire connectors can save you time and money. This comprehensive guide will walk you through the process of creating safe and reliable connections using common materials and tools.
**Introduction**
Electrical wire connectors are used to join two or more electrical conductors together to form an electrical circuit. They are an integral part of any electrical project, from simple home repairs to complex DIY electronics projects. While purchasing pre-made connectors is convenient, learning how to make your own can be a rewarding and cost-effective alternative.
**Choosing the Right Materials**
The first step in creating DIY electrical wire connectors is to choose the right materials. Here are some essential materials you’ll need:
- **Electrical wire**: This is the core component of your connector. Choose the appropriate gauge and type of wire based on the current and voltage requirements of your project.
– **Insulation material**: This is used to cover the wire ends and prevent electrical短路.
– **Connector housing**: This is the protective shell that holds the wire ends and the connection together.
– **Soldering equipment**: A soldering iron and solder are essential for creating a secure and permanent connection.
– **Wire strippers**: These tools are used to strip the insulation from the ends of the wire.
**Preparing the Wire**
Once you have all the necessary materials, the next step is to prepare the wire. Here’s how to do it:
1. Strip the insulation from the end of the wire using a wire stripper. The length of the bare wire should be equal to the depth of the connector housing plus a little extra for soldering.
2. If necessary, straighten the wire ends using needle-nose pliers.
**Creating the Connection**
Now that the wire is prepared, it’s time to create the connection:
1. Insert the bare wire ends into the connector housing. Make sure they are fully seated.
2. Apply solder to the wire ends and the inside of the connector housing. The solder should flow smoothly and create a secure connection.
3. Once the solder has cooled and hardened, trim any excess wire using wire cutters.
**Finishing the Connection**
After the connection is made, it’s important to finish it properly to ensure safety and reliability:
1. Apply heat shrink tubing over the soldered joint and the connector housing. This will provide additional insulation and protect the connection from environmental factors.
2. Use a heat gun or a lighter to shrink the tubing. Be careful not to overheat the connection.
**Safety Tips**
When creating DIY electrical wire connectors, safety should always be a top priority. Here are some safety tips to keep in mind:
- Always work in a well-ventilated area to avoid inhaling fumes from soldering.
– Use proper eye protection to prevent eye injuries from soldering sparks.
– Ensure that the soldering iron is turned off and unplugged when not in use.
– Never touch the soldering iron or the solder with your bare hands.
**Conclusion**
Creating DIY electrical wire connectors can be a fun and rewarding activity that can save you time and money. By following this comprehensive guide, you’ll be able to create safe and reliable connections for your electronics projects. With practice, you’ll be able to master the art of making your own electrical wire connectors and enjoy the benefits of a job well done.