Water treatment valves play a critical role in the modern infrastructure, ensuring the delivery of clean and safe drinking water to millions of people across the globe. In this article, we will explore the importance of water treatment valves, their types, and how they contribute to the overall efficiency of water treatment processes.
**Introduction**
Water is a vital resource for human survival and development. However, it is not always available in a potable form. Water treatment facilities are designed to purify water, removing impurities and contaminants that can be harmful to human health. Water treatment valves are integral components of these facilities, controlling the flow of water and ensuring that the treatment process is efficient and effective.
**The Importance of Water Treatment Valves**
Water treatment valves are crucial in the water treatment process for several reasons:
1. **Flow Control**: Valves regulate the flow of water through the treatment system, ensuring that the right amount of water is processed at the right time. This helps maintain optimal treatment conditions and prevents overloading of the treatment equipment.
2. **Safety**: Valves prevent backflow, which can contaminate the treated water. They also protect the treatment system from damage caused by sudden changes in water pressure.
3. **Efficiency**: By controlling the flow of water, valves help optimize the treatment process, reducing energy consumption and minimizing waste.
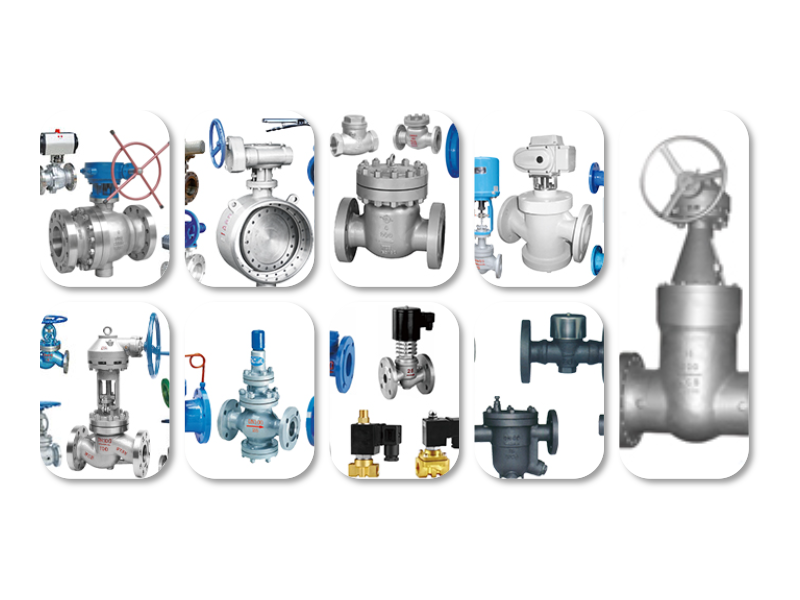
**Types of Water Treatment Valves**
There are several types of water treatment valves, each designed for specific applications:
1. **Gate Valves**: These valves are used to control the flow of water in large diameter pipelines. They are durable and reliable, making them ideal for high-pressure applications.
2. **Check Valves**: Check valves prevent backflow, ensuring that water flows in one direction only. They are commonly used in water treatment systems to protect pumps and other equipment.
3. **Ball Valves**: Ball valves offer quick and easy operation, making them suitable for on/off applications. They are also durable and can withstand high temperatures and pressures.
4. **Diaphragm Valves**: These valves are used in applications where a tight seal is required, such as in slurry or corrosive fluid handling. They are ideal for use in water treatment plants that treat wastewater.
**How Water Treatment Valves Contribute to Efficiency**
Water treatment valves contribute to the efficiency of water treatment processes in several ways:
1. **Reducing Energy Consumption**: By controlling the flow of water, valves help reduce the energy required to pump and treat water. This results in lower operating costs for water treatment facilities.
2. **Minimizing Waste**: Valves help optimize the treatment process, reducing the amount of water lost due to leaks and inefficiencies. This helps conserve water resources.
3. **Improving System Reliability**: By preventing backflow and protecting the treatment system from damage, valves ensure that the system operates reliably and efficiently.
**Conclusion**
Water treatment valves are essential components of modern water treatment facilities. They play a critical role in ensuring the delivery of clean and safe drinking water to millions of people. By controlling the flow of water, preventing backflow, and improving system efficiency, water treatment valves contribute to the overall effectiveness of water treatment processes. As the demand for clean water continues to grow, the importance of water treatment valves will only increase.